Online Scrapbooking with Photo Album
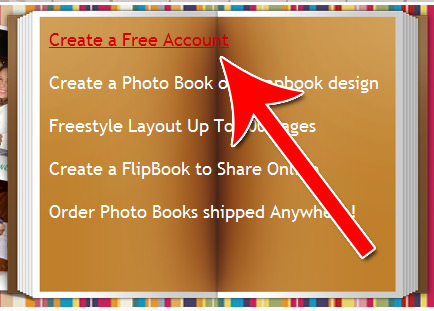
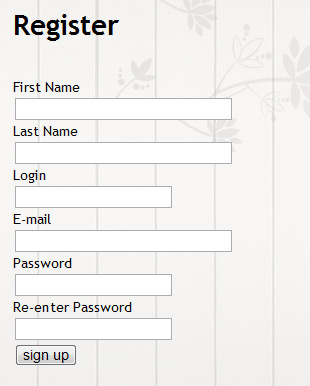
Fill out the registration information.
You’ll need to go into your email to confirm your email address. Once confirmed, log in to continue.
Step 2: Open the Scrapbook Designer
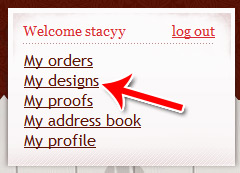
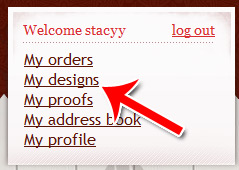
Click on “My Designs” in the upper right hand corner.
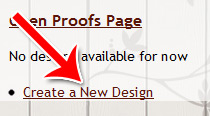
Click “Create a New Design.”
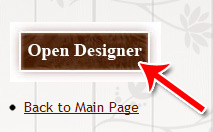
Then click “Open Designer.”
Step 3: Open the Template Designer
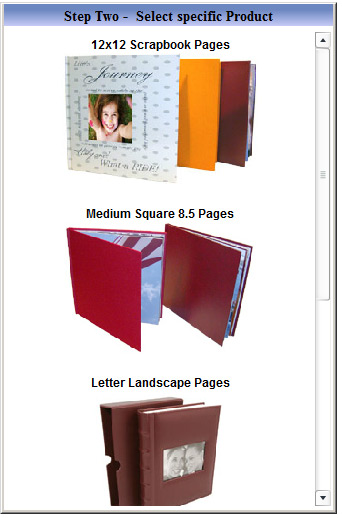
Select a product category in the box that pops up.
Then select the specific type of scrapbook or photo album you want to create.
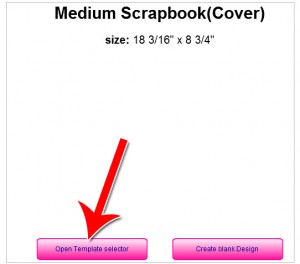
Then click “Open Template Selector.”
Step 4: Setting Up Your Template
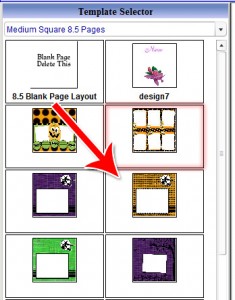
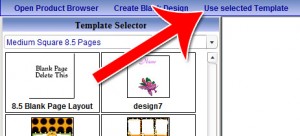
Choose which template you want to use for your scrapbook.
Then click “Use Selected Template” once you’ve made your choice.
Step 5: Upload Images
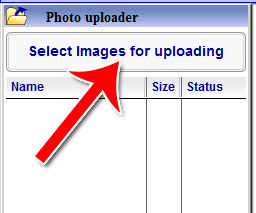
Click on “Photo Uploader” to open the photo upload drop down menu. Click on “Select Images for Uploading” to open the image selection dialogue box.
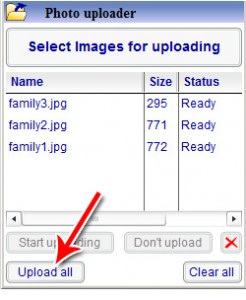
Add as many files as you want to the upload queue. Once you’re ready to upload them, click “Upload All.”
Step 6: Adding Photos and Text to Your Scrapbook
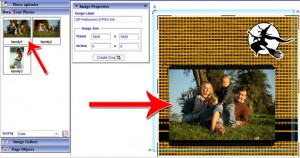
Drag and drop photos from your uploaded photos panel to your scrapbook. You might have to resize, rotate or relocate your photos to make it look just right.
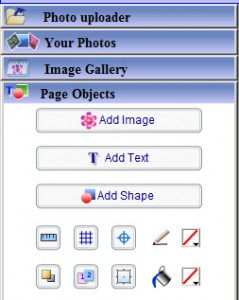
If you want to add text or other images, you can do so in the “Page Objects” panel.
Step 7: Adding Pages and Saving Your Design
Click on “Add Pages” or “Duplicate Page” on the bottom left to create more pages in your photo album.
Keep in mind you’ll need different minimum pages for different products. Many will require that you have at least 20 pages before you can print the album. However, you can always still send the album online for free with no page minimums.
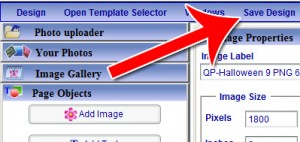
Once you’re ready to publish your design, go to the upper right and click “Save Design.”
Step 8: Publishing Your Album
Click on “My Designs” in your home screen.
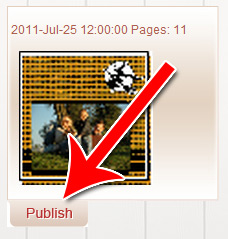
Click “Publish” under the design that now appears.
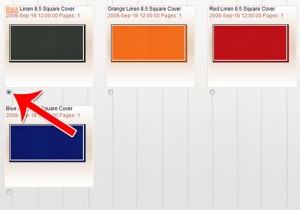
Select what kind of material your want for your cover.
Click “Create [Product Name]”. In this example, it’s “Create Flipbook.”
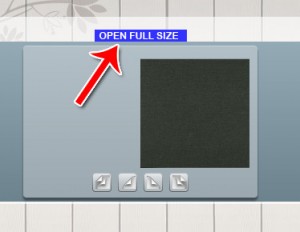
Click “Open Full Size” above your photo album.
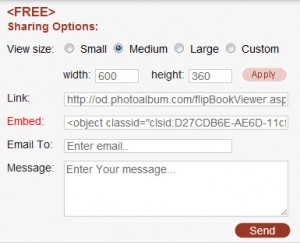
Scroll down to the bottom. If you want to share the album with your friends and family digitally for free, just fill out the share form.
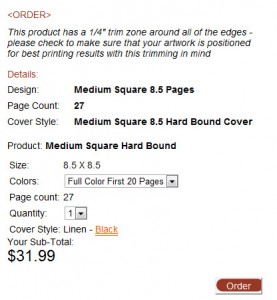
If you want to purchase a physical copy of your photo album, you can do so right above the sharing options panel.
That’s how to create an account with Photo Album, select a product, choose a template, add pictures, add pages and share or print your album.

