Faux Stitching for Scrapbooking: Make Your Own
- serrated tracing wheel
- gel pen, markers, pens
- soft surface (mouse pad, etc)

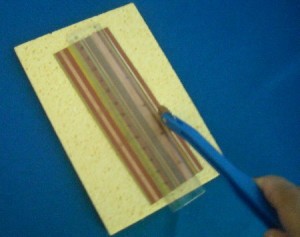
I have a clear 6 inch ruler I like to use as a guide. Be sure to press hard enough to create the holes. This is why a cutting matt will not work, you need a softer surface to create the holes.
Step 2: Faux Stitch
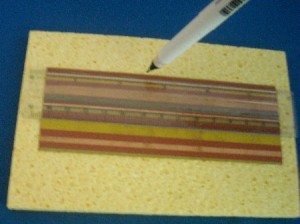
Using gel pen or marker of your choice, “connect the dots”. I keep the ruler in place and simply draw a line.
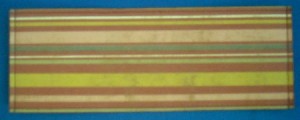
Close up of “stitches”.
Super simple, yet effective!
Method 2:
Use a marker and draw lines freehand to create your own faux stitching. I like to use glaze pens as they dry with a slightly raised surface. This gives your stitches a more realistic look. Note: for this method do not use a ruler as the pen tends to bleed under the ruler leaving smudges on your finished project. (plus allows for a more realistic hand stitched look)
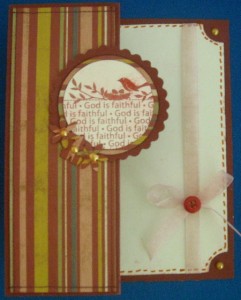
Sample card:
Notice the striped panel of patterned paper from the tutorial above. Inside the card I used method two and drew the stitches freehand with a glaze pen. Under the circle, I stamped a sentiment on the inside of the card.


