Origami Flower: Make Your Own Tulip
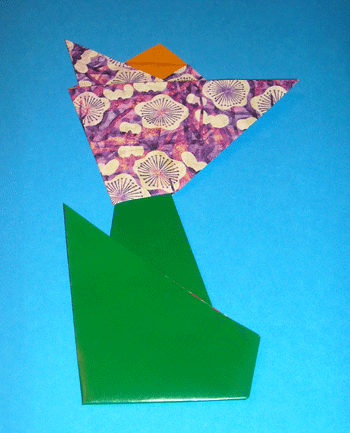
This a beginners origami step by step tutorial on how to make an origami flower. More precisely – it’s a 2 dimensional tulip with a stem that even a new beginner can make.
Step 1:
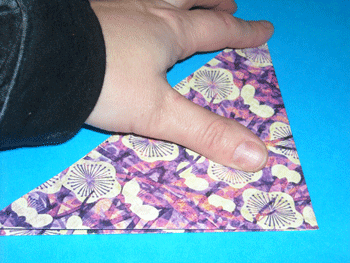
Start with a square piece of paper on a diagonal and fold the paper in half, making a triangle shape.
Step 2:
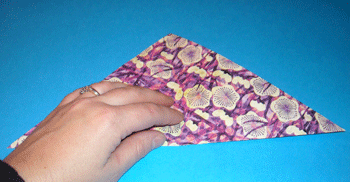
Then fold it again, bringing the right bottom tip to the left bottom tip.
Once you’re done, open this fold back up, as shown below:
Step 3:
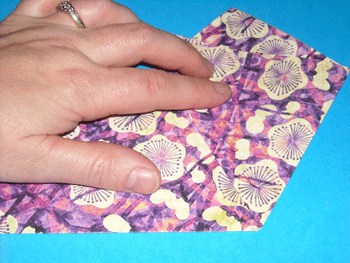
Now, you’re going to bring the right bottom tip over to the left as you can see below. The tip will expand past the left side of the paper and you that’s good. It is going to form the appearance of petals on your flower.
Now do the same fold with the left bottom tip.
Step 4:
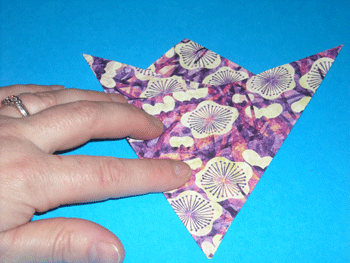
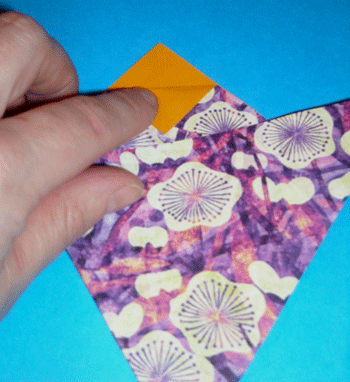
Now you’re going to create the inside color of your flower, by folding down the top layer of the very top tip down an inch or so.
Now your flower is done. The next step is to make the stem.
Step 5:
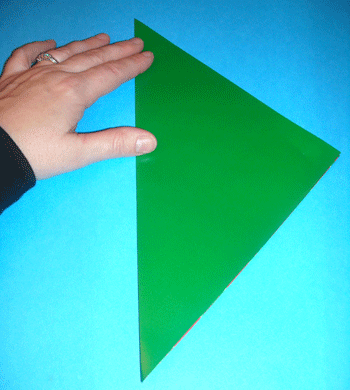
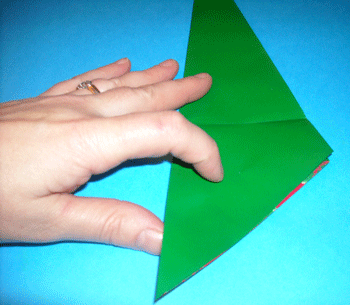
To make your stem, start by folding your paper into a triangle to the right.
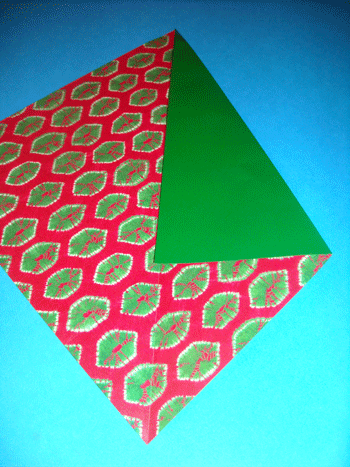
Then unfold it back to a square.
Step 6:
Now, you can take the top right of the paper and fold it down to the middle crease you just made.
Do the same on the left side.
Step 7:
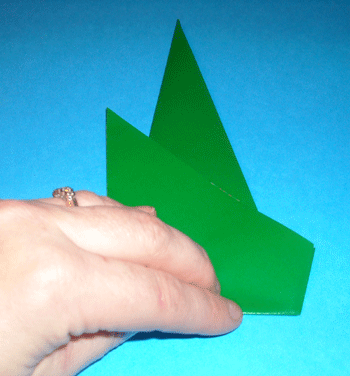
Now fold the left side of the entire paper shape over to the right side.
Step 8:
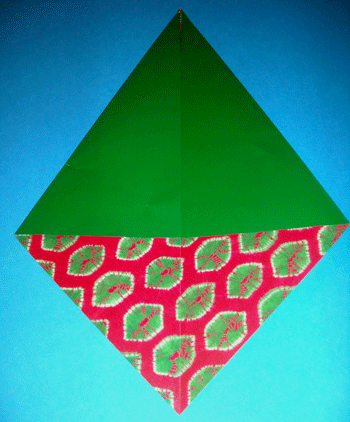
Now, to make the appearance of a leaf on the stem, you’re going to fold the bottom tip up. The fold will appear as shown below:
And once it’s folded, it will look like this:
Step 9:
Now it’s time to put your stem and flower together.
If you want to make it permanent, you can glue your stem and origami flower together and then attach a magnet to the back.

