Virtual Makeover By Mary Kay
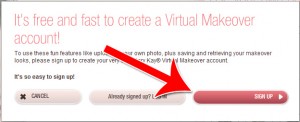
Click “Sign Up” to create your account. An account is mandatory for using the software. (It’s free.)
Step 2: Uploading the Photo
The photo you choose should ideally be against a white background with even lighting. It should include your shoulders up to your head, with you facing the camera head on. Your hair should ideally be pulled back.
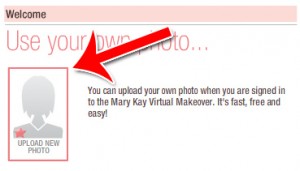
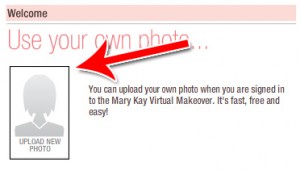
Click “Upload New Photo” again once you’ve created your account to get started.
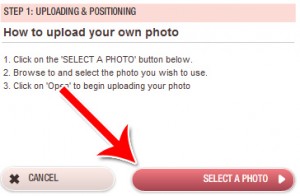
Then click “Select a Photo” in the next page. Choose your photo from your computer and Mary Kay will upload it to their software.
Step 3: Alignment
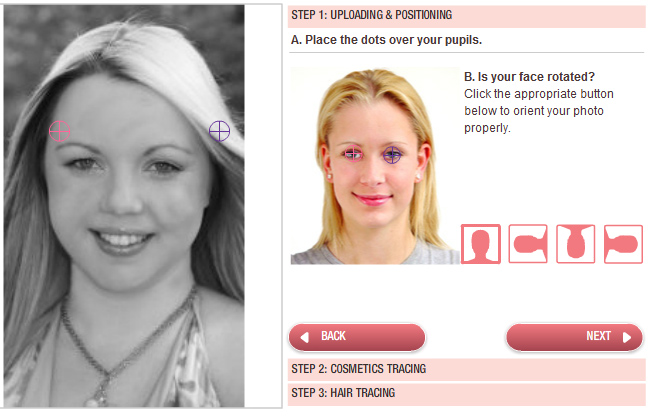
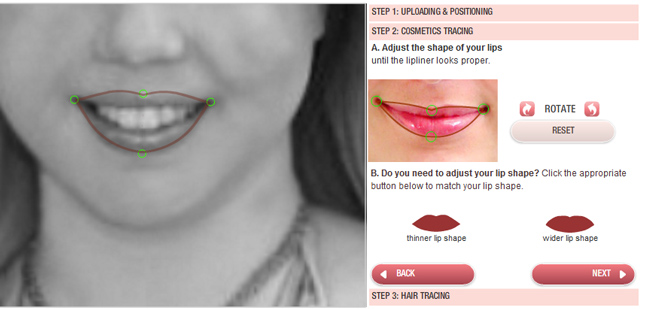
In order for Mary Kay to be able to accurately apply the different kinds of makeup, it needs to be accurately aligned.
For example, the software needs to know exactly where the eyes are:
Or where the mouth is:
You’ll have to go through a few different alignment screens before you can move on to the makeup screen. The whole process takes about 3 minutes.
Step 4: Apply Lipstick
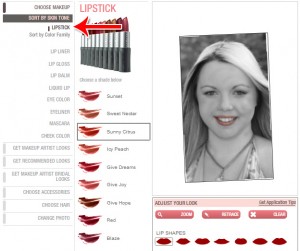
To apply lipstick once you’re done with the alignment process, click “Lipstick” near the top of the navigation bar.
Select the specific color you want. Click on it and it’ll be applied to the lips. You can also apply lip liner, lip gloss and lip balm by clicking on their respective categories.
You can change the shape of the lipstick in the lower right.
Step 5: Apply Eyeliner or Mascara
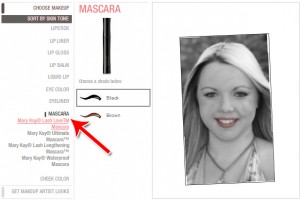
To apply eyeliner or mascara, click either category on the left. You can also select specific types of mascara to apply.
Choose the color or shade in the sub-menu and the effect will be applied to the photo.
Step 6: Apply Hairstyle
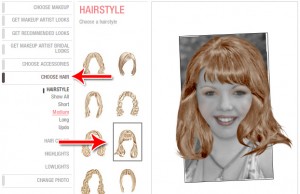
To try on a different hairstyle, click “Choose Hair.” Then choose how long or short you want the hairstyle to be.
Finally, choose the specific hairstyle you want to wear. The hair will then be placed on your head in the photo.
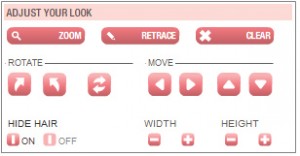
If the hair doesn’t fit perfectly at first, you can adjust it by moving it around and enlarging it or shrinking it. The panel for changing the hair is in the lower right.
Step 7: Using Pre-Set Looks
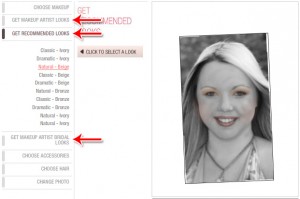
Mary Kay has a number of pre-set looks. To use one of them, select either “Get Makeup Artist Looks” or “Get Recommended Looks” or “Get Makeup Artist Bridal Looks.”
You can select from a few different look choices under each type of pre-set look.
It’s that simple! You’ve now learned how to create an account, how to upload a photo and how to apply a variety of effects, from lipstick to eyeliners to hairstyles.

