My Invitation Link Review – How to Send Digital Wedding Invitations
Step 2: Choose a Template
My Invitation Link has many different templates to choose from. Each template has its own background, text style, borders and default audio.
Any time you click on a template, it’ll automatically play a preview of that template.
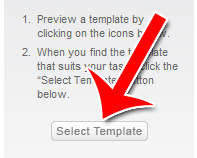
Go through a few different templates before choosing the one to use for your invitations. Once you’re ready to make your selection, click “Select Template.”
Step 3: Add Photos
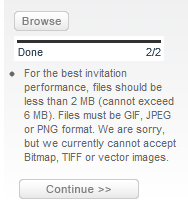
Click the “Browse” button to look for photos on your computer. Once you’ve selected all the photos you to upload, click “Upload” to send those photos to My Invitation Link.
Step 4: Create Text Slides
Most invitation will have a few text slides sprinkled throughout, in addition to the photographs. My Invitation Link makes it easy to do that.
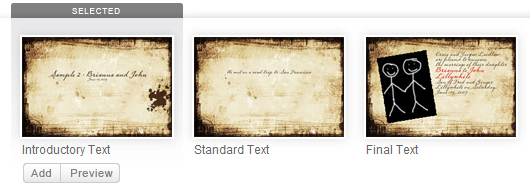
First start by choosing the text slide’s style.
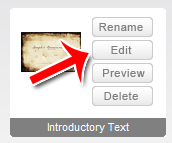
Once you’ve selected the overall style, click “Edit” next to that slide.
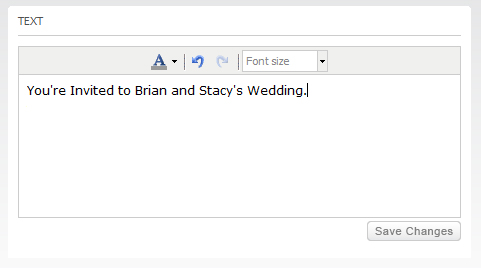
Change the text to display whatever you want.
My Invitation Link will format the text and put it against the template’s background. It’ll look something like this:
Repeat this process as many times as you want to add more slide.
Step 5: Add Music
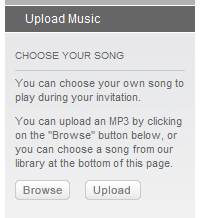
You have the ability to either add your own music, or use My Invitation Link’s existing audio library.
To add your own music, click “Browse” to find the music on your own computer. Once you’ve selected the .mp3 file, click “Upload.”
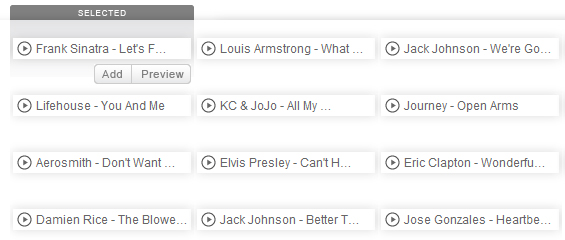
If you’d rather use one of My Invitation Link’s existing music files, just select it from the song selector at the bottom of the page.
Click “Continue” when you’re finished.
Step 6: Set Your Invitation Settings
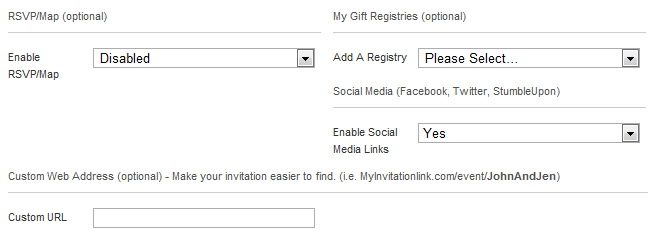
Here are a few basic settings to set for your invitations.
Here you’ll get to choose whether you want people to RSVP and/or appear on a map, whether or not you want social media (i.e. Twitter, Facebook) buttons on your invitations, whether you want to link to a registry and what URL you want for your invitation link.
Step 7: Put Your Slide Together
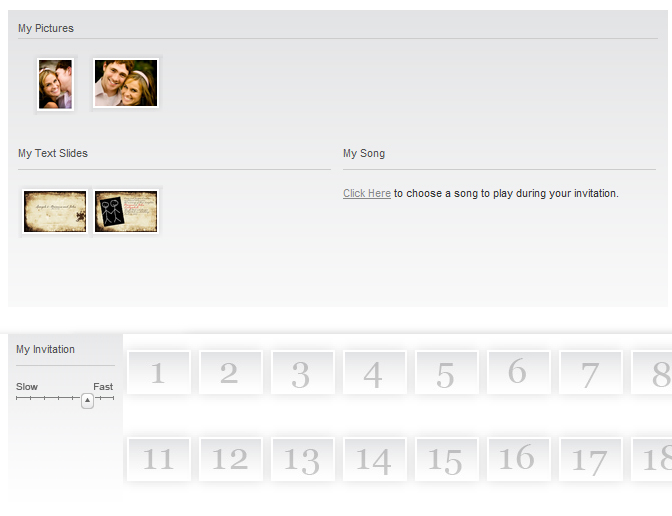
At the bottom of the page, you’ll see a project creator. This system allows you to drag and drop photos and slides into a timeline. The program will play the timeline from beginning to end, creating a beautiful slideshow along with the music you selected to play.
You can also adjust the playback speed on the left.
Step 8: Create Your Account & Send Invitations
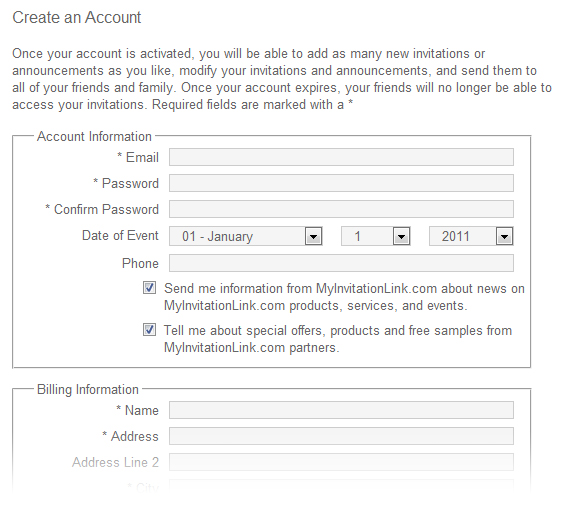
Create your account by entering your email and desired password. You’ll then be asked for your billing information.
Once you’ve paid for the service, you can then put in all your friends’ contact information and your invitations will be sent out.
Congratulations! You now know how to send out multimedia wedding invitation cards using My Invitation Link. You know how to add photos, add slides, add your own music or use existing music and how to finally put everything together in a timeline.

