Pirate Birthday Cake – Pirates of the Caribbean Medallion
I made this one for the cake walk at the school fun fair, but it would be very suitable for a birthday party as well.
 I got the idea from “jenurator” who posted her Pirates of the Caribbean Cake on cakecentral.com.
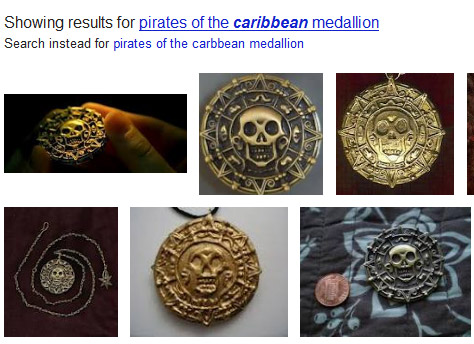
My kids gasped in awe when they saw her wonderful creation. She started with a yellow (gold) cake and then painted the black parts on with thinned black icing. I found the original Pirates of the Caribbean medallion on Google Images and thought the process through.
 To me, it seemed easier to do the cake in black and then put the yellow/gold details on top. It would result in much less icing work and hopefully a cleaner design.
Step 1: Bake and Cool Your Cake
Bake an 8″ cake and allow it to cool completely. You can find out how to bake a perfect cake to help you with this.
Step 2: Preparing Your Design
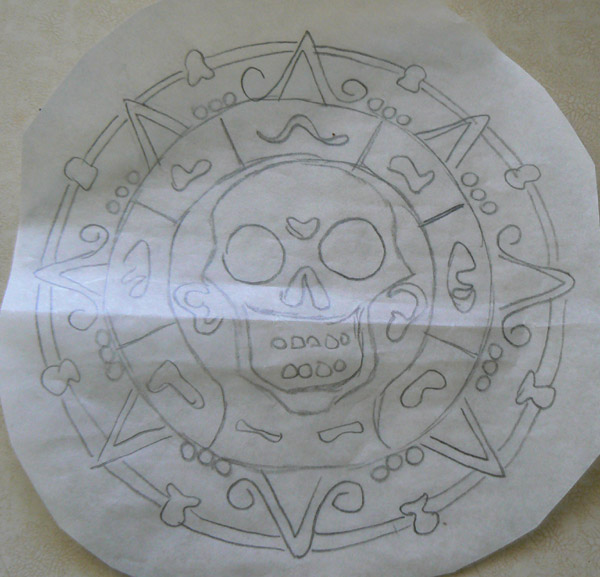
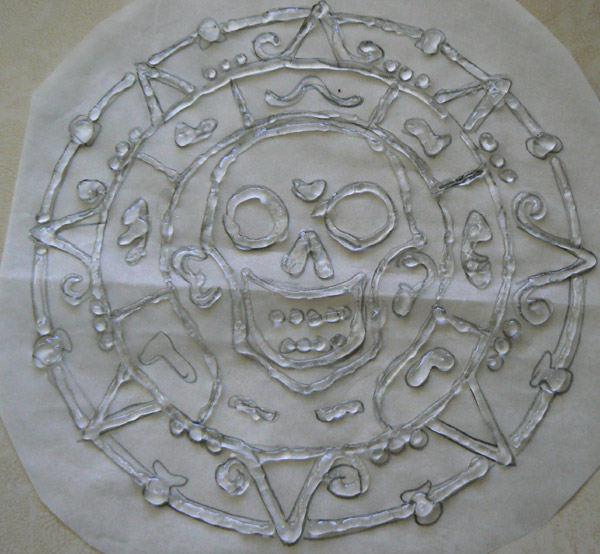
To get the design on the cake, we’re going to use what’s called a gel transfer which means you pre-draw your design on parchment paper, make an outline with clear icing gel and then transfer it to your cake. This will help eliminate mistakes and ensure a well planned and placed design on your cake.
So to start with, I got some parchment paper and traced out a picture of the medallion that I printed out from Google images. My paper is a little crinkled and folded, but it still did the trick.
Put the tracing aside for now. You’ll need it again in step 5.
Step 3: Making The Icing Colors
 To make this cake, you need two icing colors…black and gold (or yellowish gold). It’s not easy to make those colors perfectly, but I think I came up with a decent option.
For the black, I started with chocolate icing and added black coloring gel. You can read how to make black icing to get the full details.
 Then, for the gold color, I started with white icing. I added yellow coloring gel and then double the amount of brown coloring gel to get a sort of golden color.
It’s not shiny like gold, but it did the trick.
Step 3: Basic Icing
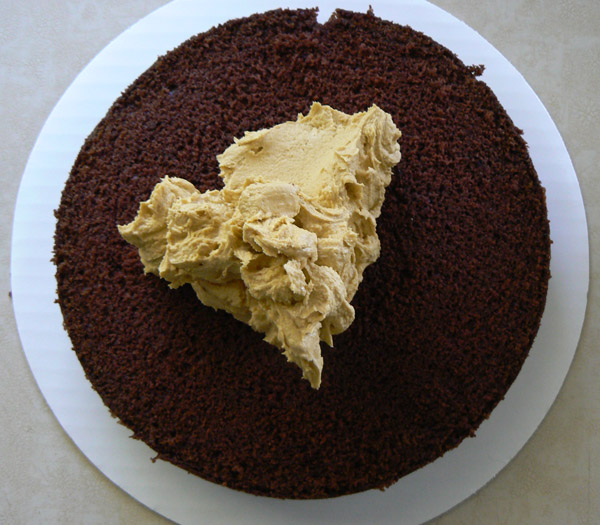
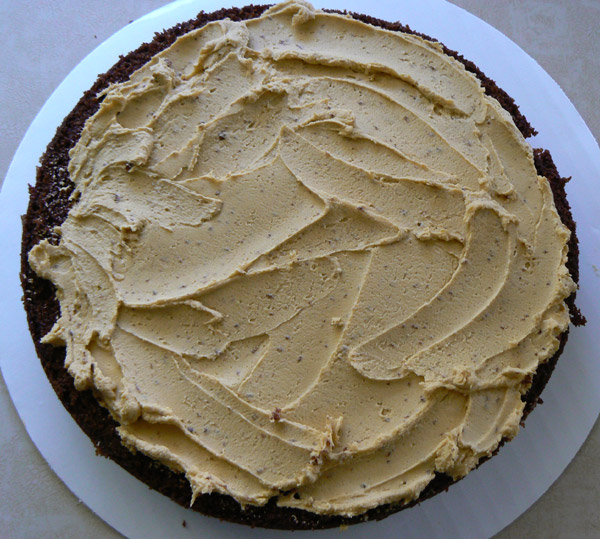
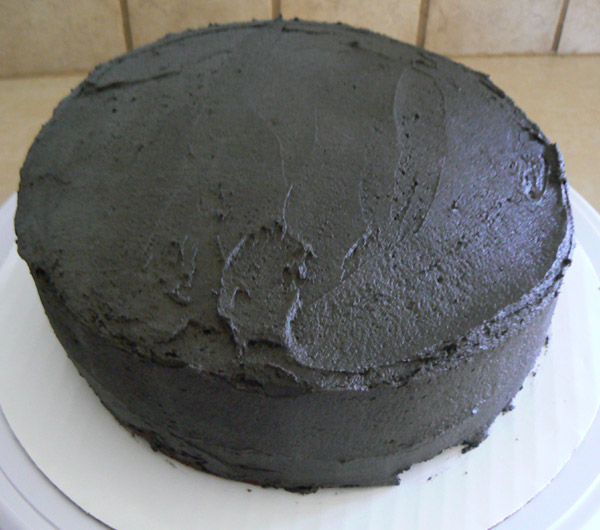
Now you can do the basic icing for the cake. I decided to put a little gold in middle. I sliced the cake in half. You can do this very easily by using a cake leveler.
I then put a big dollop of the yellow icing on the bottom layer, making sure not to go right to the edge. I didn’t want the yellow icing to mix with the black icing I was going to add to the outside.
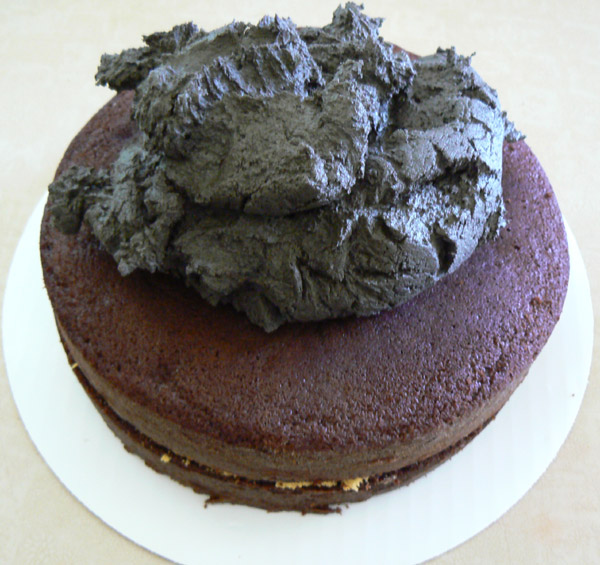
Now you can put your top layer on the cake and start icing it with the black icing.
My cake decorating teacher told us to put all the icing we’re going to use right on top of the cake. Then you start working it to the edges with the spatula. As the icing hangs over the sides, you then put your spatula at a 90 degree angle and turn the cake to create (relatively) smooth edges.
I use a cake turntable to make this much easier. It’s not necessary, but it’s amazing what a difference it can make. I have the Wilton one that locks, so you can keep the cake steady when you need it or spin it around…at your will.
Once your cake is iced, you can put it in the fridge to let the icing set.
Time to Do The Medallion Design
Now it’s time to get your tracing design out. You’ll need some clear piping gel and a small writing tip (I used Wilton #3).
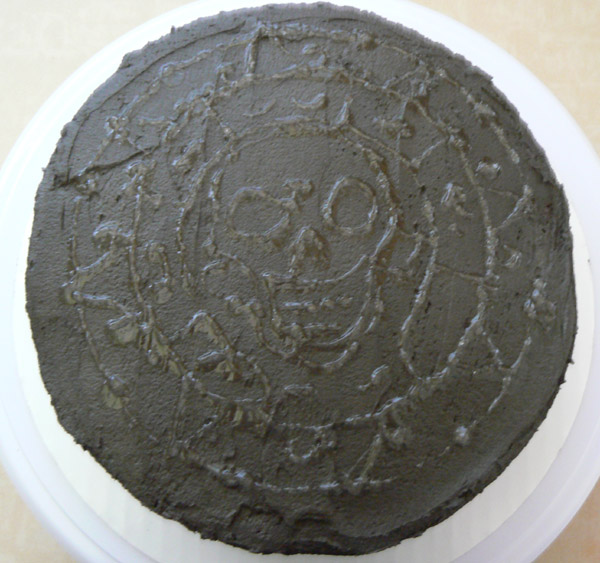
Trace along your design with icing tip. You should flip it over and avoid putting the icing on top of the pencil. You can see I decided to simplify the design a little with the gel and modified it a bit to make things easier for myself.
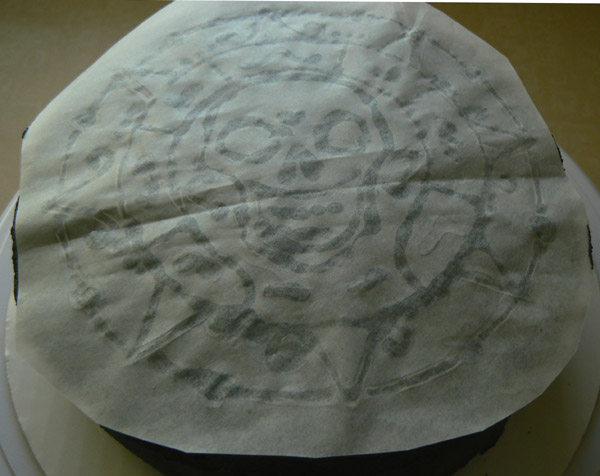
Now, you can bring your cake out of the fridge. Very carefully, flip the parchment paper over and place it as close to the middle of your cake as possible. Mine is definitely not right in the center, but hey, I did my best.
Gently press on the paper to ensure the gel image is fully transferred onto the cake. Gently remove the paper when you’re done.
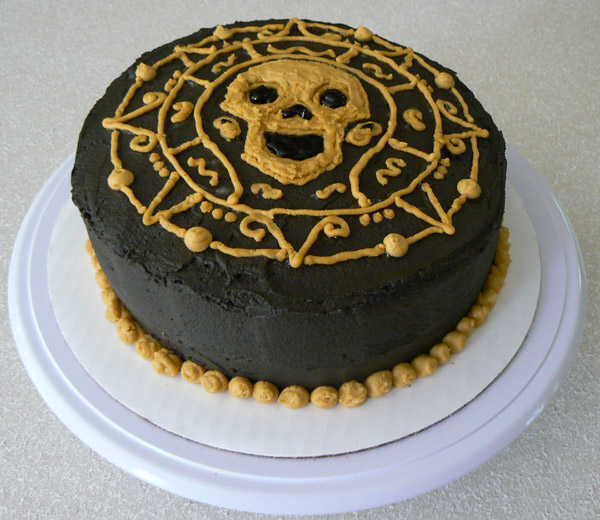
Now it’s time to use your golden icing to create the design. I used the #3 tip to do the thin lines and small dots. I used a #12 tip to do the larger dots and to create the dotted trim around the bottom of the cake. I used a spatula to spread the icing for the skull. And finally, I used a #3 on some piping gel that I added black color to for the eyes, mouth and ears.

