How Cropmom Works for Online Scrapbooking
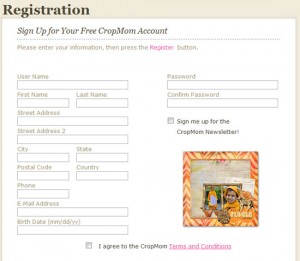
Once your registration is finished, click “Go to My Cropmom to get started scrapping” to get started!
Step 2: Upload Your Photos
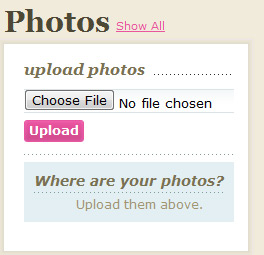
On the first screen you see when you log in, on the right hand side is the photos upload box. Click “Choose File,” then select your file to upload and click “Upload.”
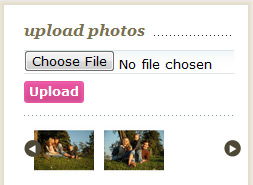
Once your photos have been uploaded, they’ll be displayed carousel style along the bottom of the photos pane.
Step 3: Start the Layout Creation Process
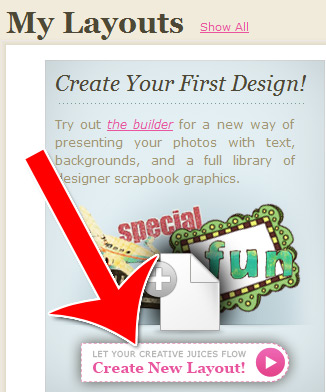
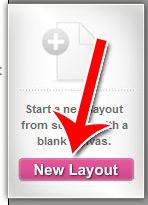
Click on “Create a Layout” on the left hand side. A layout is basically cropmom’s term for a scrapbook page.
Choose a new layout when you’re asked if you want to edit a layout or create one.
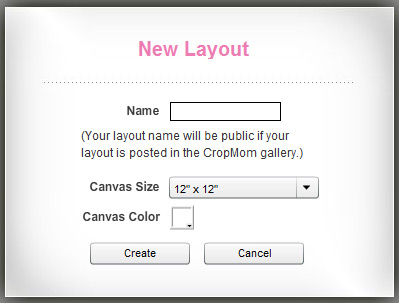
Give your layout a name, choose its size and choose its background color.
Step 4: Create Your Layout
To add text to the layout, click on the “Aa” button on the left hand side.
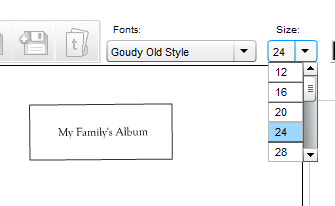
Double click on the text to change the text. Use the text size and text font menus on the right to change how your text looks.
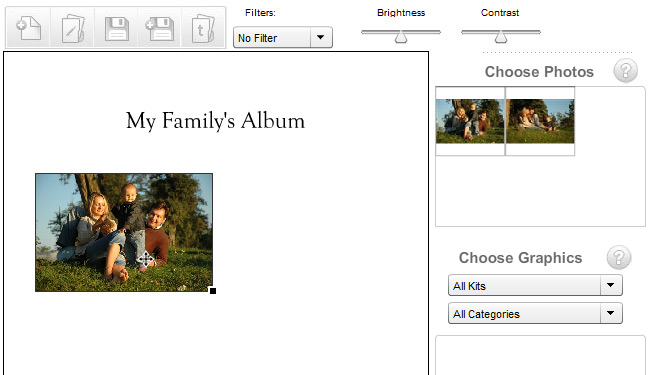
Click and drag photographs from the right to add them to your layout.
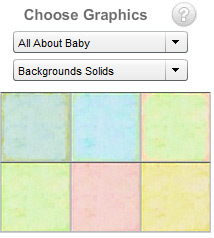
Click and drag the “Choose Graphics” area to add backgrounds or other photographic elements.
These are a few of the main editing features. Play around with the interface a bit to get to know what kind of images Cropmom can create.
When you’re finished, click the save button.
Step 5: Sharing Your Layouts
Create as many layouts as you want. Once you have a few that you want to save, just follow these steps to send them to your friends and family.
First click on “My Cropmom” along the top navigation.
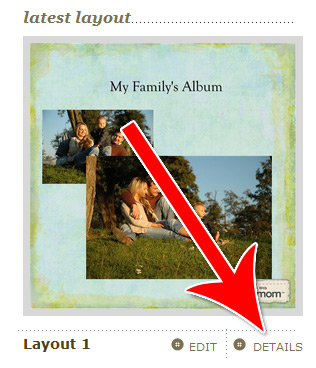
Click “Details” beneath the specific layout you want to share.
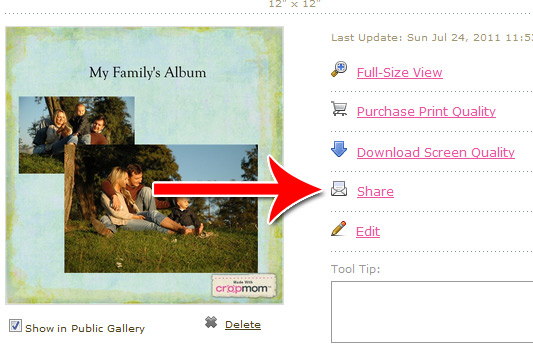
Click “Share” in the right hand side menu.
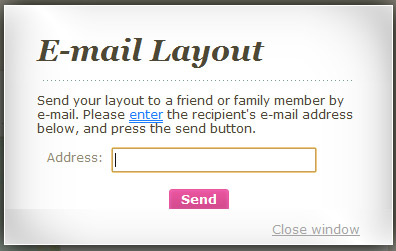
Enter your friend or family member’s email address.
Congratulations! You’ve created a Cropmom account, uploaded your photos and learned how to create layouts, including how to create and edit text, add photos and backgrounds and image elements, plus how to share your work once you’re finished.


