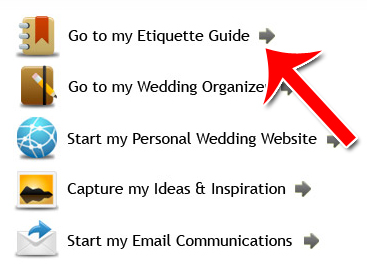
My Wedding Workbook – Wedding Planning Made Easy
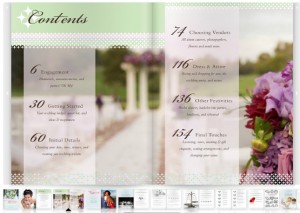
The guide will look something like this:
To navigate, just click the left or right hand side bars, or click a page along the bottom.
Step 2: Manage Your Guest List
My Wedding Workbook’s guest list management system allows you to track who’s coming to what events, who’s RSVPed and who hasn’t, manage contact information and export everything to PDF or Excel.
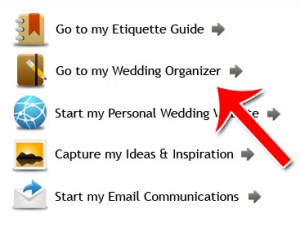
To get to the guest list management system, first click “Go to My Wedding Organizer.”
Then click on the “Guest List” option in the top tabs.
You’ll see the guest list system, which looks like this:
To add an individual family or guest, just click on Add a Family/Guest.
To print out a PDF of the guest list, just click on Guest List PDF.
To print all the notes about your guests, click on Guest Notes PDF.
To export all the data, click on Export.
To download an excel file that will allow you to fill in many guests at once, then upload that file, click on Upload.
The system allows you to do a number of other things, like track meal counts or suggest hotels to out-of-town guests. Play around with the system a bit to get a sense for how it works. It’s much, much more effective than trying to manage a guest list on paper or Microsoft Word.
Step 3: Manage Your Budget
My Wedding Workbook’s budget management system allows you to set your budget goal, track what you’ve spent and need to spend for every category of wedding expenses.
To access the budget system, click “Budget” in the top navigation bar.
To start, edit your budget goal. Until you set your goal, you can’t access the rest of the system.
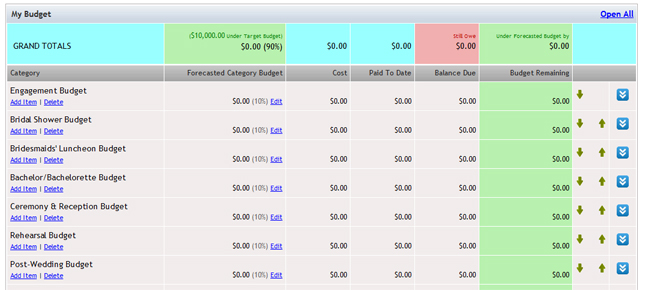
The rest of the budget system looks like this:
To add an item, just click Add Item.
To change the budget for an entire category, click Edit in the category.
To move an item up or down, click the small arrows.
To expand a category, click the blue arrows.
Anytime you add an item, it’ll ask you how much the total cost is, as well as how much is already paid. The data will be updated accordingly. If you ever want to change it, just click Edit for that particular item.
Step 4: Manage Your Events
Click on “Events” in the top navigation bar.
Select which event to edit by hovering your mouse over the Events navigation bar along the top. Select the specific event.
Edit the event by clicking the tabs and clicking “Edit” or “Add Detail.” Each event has a different page and setup.
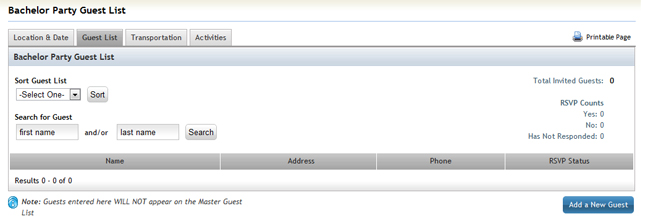
This is what the Bachelor Party setup looks like:
Repeat the process for each event that you need to track.
Step 5: Calendar for Managing Tasks
Need to call the florist on a specific date? Or plan a meeting with your videographer? Keeping track of everything that needs to be done can be quite a logistical nightmare.
Fortunately, My Wedding Workbook’s calendar system can help make it easier.
First, click on the “Task Calendar” tab in the navigation bar.
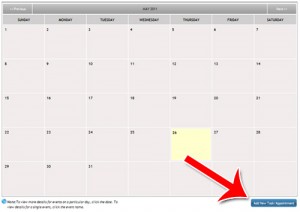
The calendar looks pretty much like what you’d expect from a calendar.
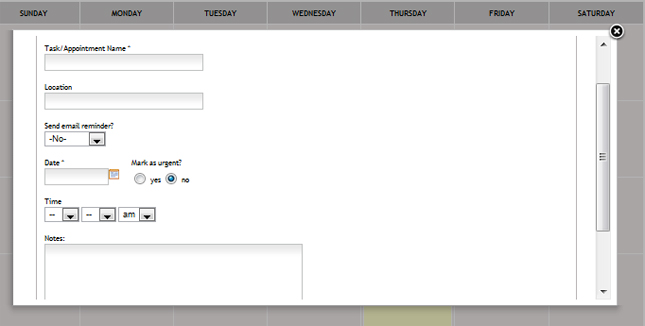
To add a task, just click the Add New Task button in the lower right. Pick a date, give it a name and write any notes in. It’ll then appear in the calendar.
Check on your calendar on a regular basis and you’ll never forget a meeting or an important task again.
Step 6: Manage Vendors
My Wedding Workbook makes it a piece of cake to manage contact information, payment terms and notes about various vendors.
To start, click Vendors in the top navigation.
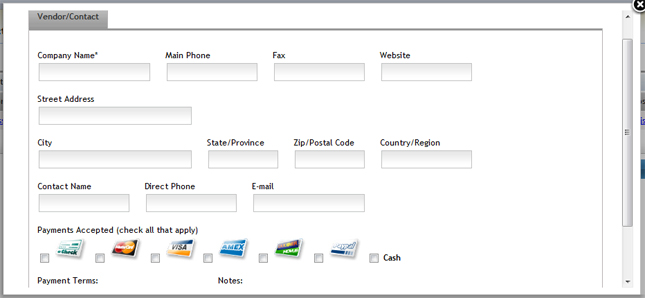
You’ll then be presented with a list of all the vendors you’ve already entered. To enter a new one, just click Add Vendor/Contact.
You’ll be presented with a wide range of information you can type in. All fields are optional, so just fill in the parts you want.
Step 7: Create Your Personal Wedding Site
You can create your own website, with guest lists, invitations, photos and more all through My Wedding Workbook’s system.
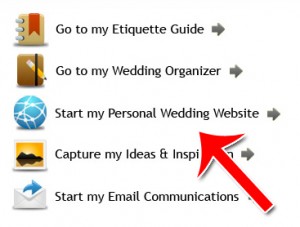
Start by clicking on “Start my Personal Wedding Website” on the main screen.
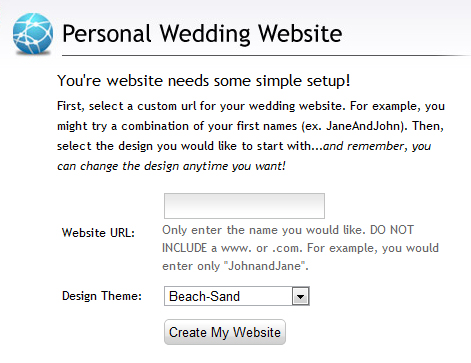
Select the URL you want for the site. This will be appended to the end of http://www.myweddingworkbook.com. In other words, if you entered “example,” you’d get http://www.myweddingworkbook.com/example.
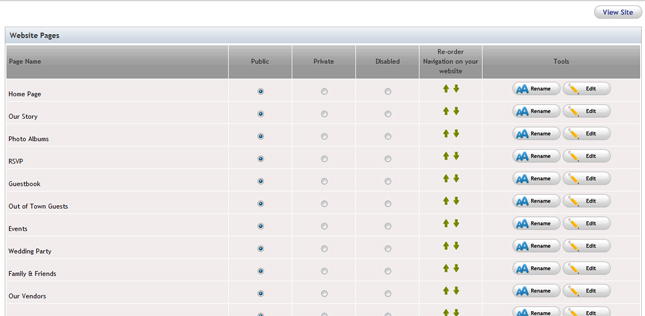
Once you’ve chosen your URL, you’ll be presented with the page edit site. Chose which pages you want to display and which ones you want disabled (or private.)
To change the actual content of your pages, just click edit.
There are many more options for the site that you can access in “Manage Settings” and “Theme Selector.” In “Website RSVP Responses” you can see exactly who signed up to various events through the site.
Explore these options to really make your new site yours.
Step 8: Capture Your Wedding Ideas
Have a brilliant idea for your wedding? Don’t let that idea slip away! Use My Wedding Workbook’s simple note taking system to keep track of inspirations and ideas.
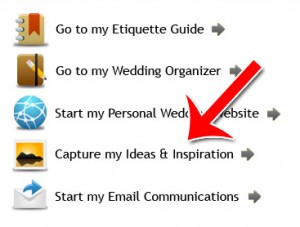
First, click the “Capture my Ideas & Inspiration” button to access the notebook.
Click “Create New Note” to add a note to the system.
Once you have a note entered, it’ll be displayed in the table.
Step 9: Manage Your Emails
My Wedding Workbook allows you to send emails to all attendees of your wedding and other events all through their system.
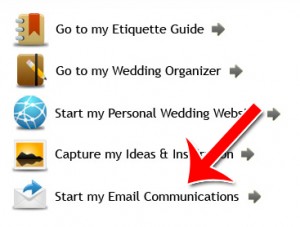
To get started, click on the “Start my Email Communications” button.
Under the “Manage Email Lists” tab, you can add new lists and new list members.
To create a new email list, click “Create New List.” To add people to your master database (from whom you can add people to specific lists,) click “Manage Master Email List.
To send emails to people on your list, go to the “Manage Emails” tab.
Click on “Create New Email” to compose and send a new message to a specific list.
Congratulations! You now know how to use all of the main features My Wedding Workbook has to offer. My Wedding Workbook is a very comprehensive system, with time and energy saving tools for just about any couple, no matter what style of wedding.

